This month’s Bostik Blogger theme is Back to School (already?!) and ours is a particularly exciting September this year because our son is starting school for the first time. Biggest has autism and this means he struggles with transitions and big changes. Children with autism and other special educational needs often benefit from resources like visual timetables, as it helps them to breakdown information and process it more easily. Therefore, I decided to make a visual timetable for Biggest to help him manage the big changes in his routine.
However, visual timetables can be helpful for all children. If you have a little one starting school in September, a visual timetable may help them feel less overwhelmed by the changes happening at this time.

Visual Timetable – Materials
- Firm card or Foam Board in A2 size
- Items for decorative boarder (We used buttons but you could use beads, glitter or stickers etc.)
- Pictures of familiar tasks and places (printed on paper). We used our new wireless printer
- Scissors
- Glue
- Adhesive hook and loop patches or tape
Optional:
Visual Timetable – Method
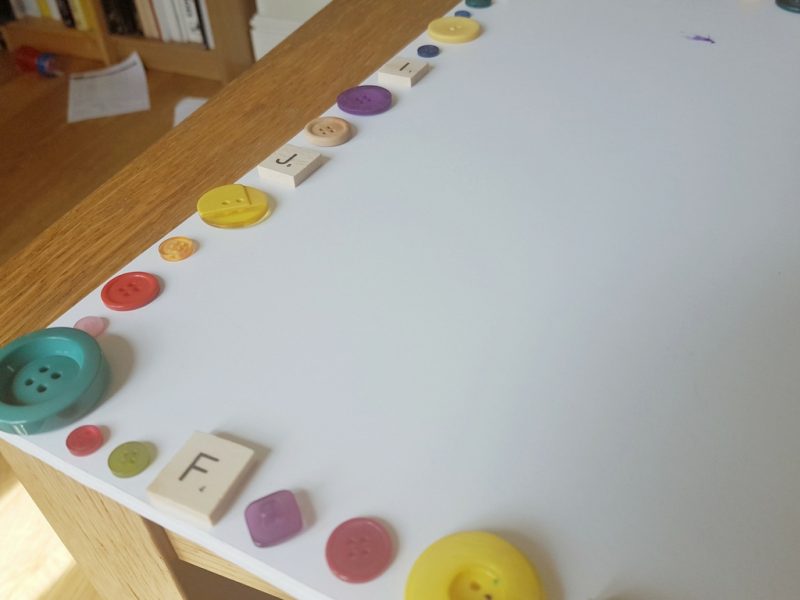
Firstly, we decorated the border around our foam board. This is not an essential step. However, Biggest helped me pick the buttons and decide where we would put them and he enjoyed the task. It also gave him a sense of ownership and involvement with the timetable.
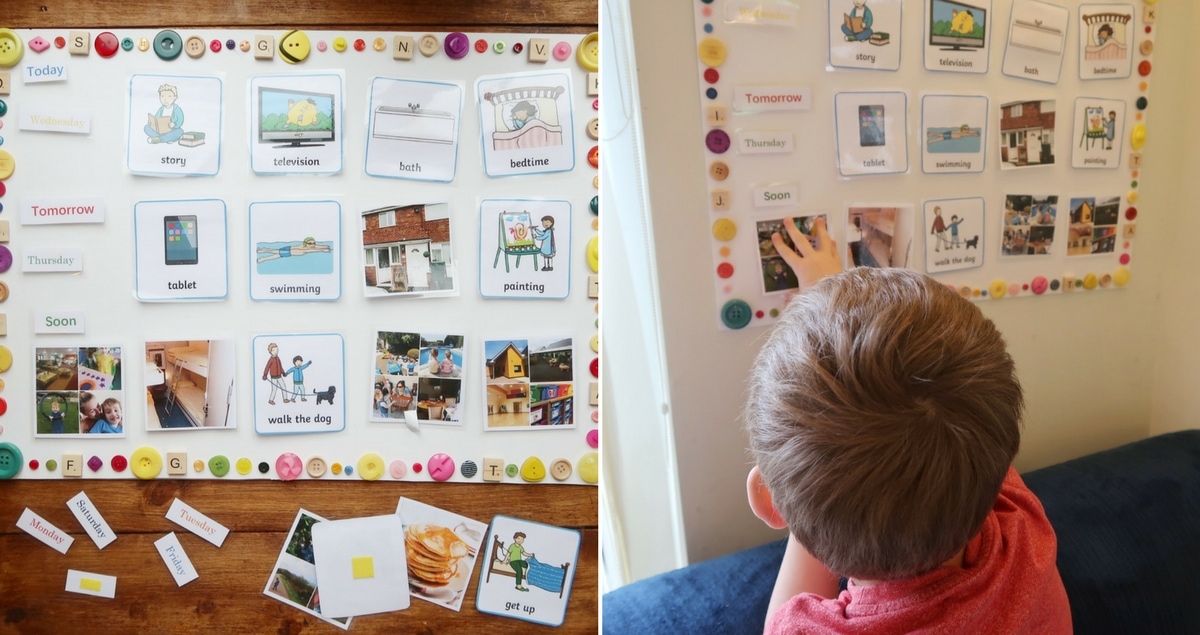
Next, we made sure we had printed pictures of all the tasks and places we wanted. We used a mixture of pre-made illustrations, designed for visual timetables (You can find loads at Twinkl) and pictures we had taken ourselves of the main places that Biggest visits.

We made cards that are roughly 10cm by 10cm, meaning we can fit three rows of four or five onto our timetable. You can make your own cards easily using Word or Powerpoint. For example, we made this one in Powerpoint:

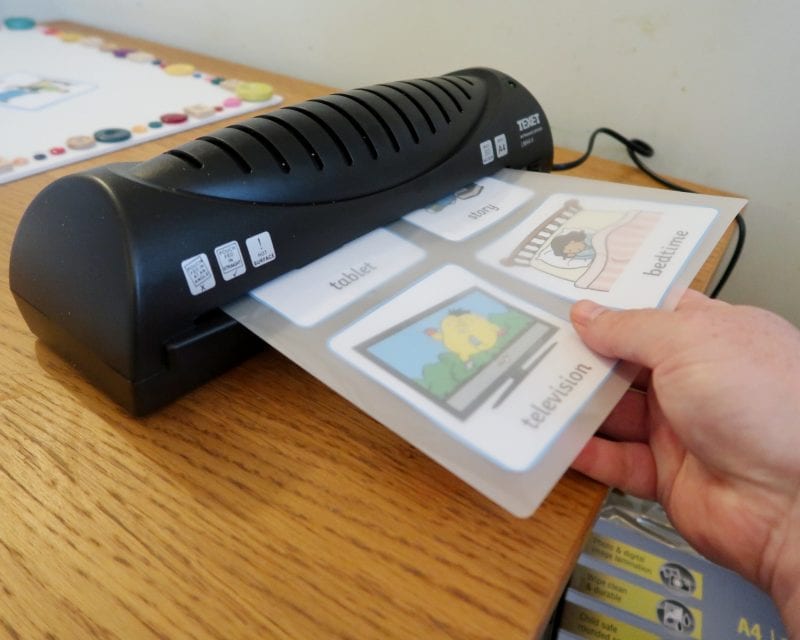
Once we had all of our pictures ready, we chose to laminate them. This is optional but if you are going to be using the timetable for a chunk of time, it is a good idea. Our laminator was just £13.85. I love laminating things (the teacher in me will never die!) and so I was happy to pay that as I know I will use it a lot.
In addition, I made some smaller cards with words like ‘Today’ and ‘Tomorrow’ and the days of the week on. I felt that Biggest would not be able to process any more information beyond that for now.
Once I had made and laminated all the items we needed, I used adhesive hook and loop patches/tape to attach them to the board. The yellow hook part goes on the cards and the white loop part is then stuck to the board.

The great thing about using hook and loop tape (which you may know as velcro!) is that, as well as making the cards interchangeable, it also means you are free to completely change your timetable. You can include one day, or two or three. You could work in weeks instead of days and you could even arrange it so that there are just one or two tasks at a time, in order to allow the child too focus without being overwhelmed with information. This means the timetable can be adapted to different circumstances and can grow with your child.
Our Visual Timetable
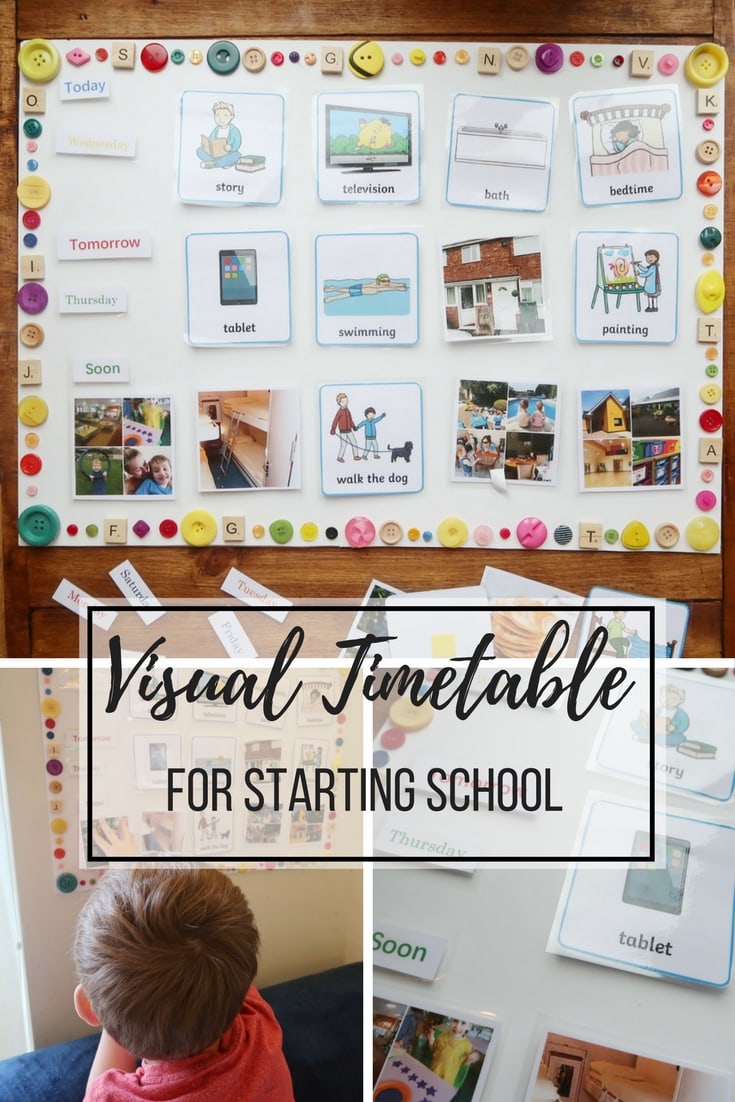
Here is our finished visual timetable:

You can see that, for now, we will follow a timetable for today, tomorrow and soon. Because all the pieces are removable, I could change this to include three days in a row in the future. We have placed our timetable in the dining room. It is one of the areas that we spend the most time in and so it gives us plenty of opportunities to talk over events with him
Hopefully, our visual timetable will help Biggest through one of the most significant changes he has been through so far – starting school!

Bostik kindly send us craft items each month in order to take part in the Bostik Blogger challenge. This post contains affiliate links.


This looks great! My eldest starts this year and he is currently going through a massive regression and is scared of everything! Thanks for sharing.
What a brilliant resource to help your son know what to expect. I hope his transition goes as smoothly as possible and that school are supportive
Great idea! Going to share it with my sister in law as my nephew starts school in sept and I think this could really help him a lot. #spectrumsunday
Danielle, this is amazing! I know Lily would benefit from this and would feel more settled knowing what’s coming next. I’ve just prepped this to share on my own Twitter and a client’s feed as well. Mega impressed! xx
Visual time tables are great! They really help Jude cope with a day at school. I hope September goes well 🙂 x #spectrumsunday
We’ve moved away from visual timetables now and I felt Joseph was getting too dependent on them. Very useful for us at the time though! We have a summer planner so he can see when he’s going back to school and we’re working on using a written timetable if needed and it will help improve his reading 😊
#SpectrumSunday