


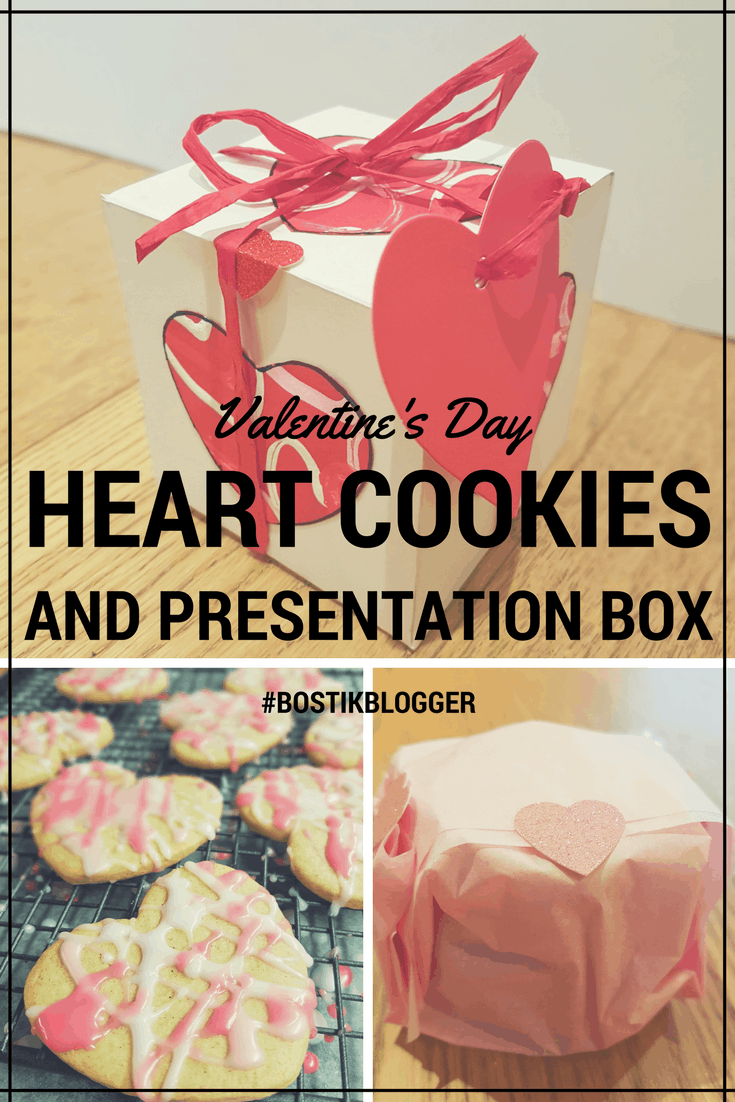
Valentine’s Day is often tainted by the idea that it is an unnecessary and commercial holiday. Therefore, it is a particularly nice time to share a home-crafted or personalised gifts that can really show your significant others how much they mean to you. These iced heart cookies are extremely easy to make and the decoration is really simple but effective, meaning the children can get involved. Our presentation box, using hand-printed card that was also made by the children, is the perfect way to present these edible treats and make them into a really special gift for any loved one.

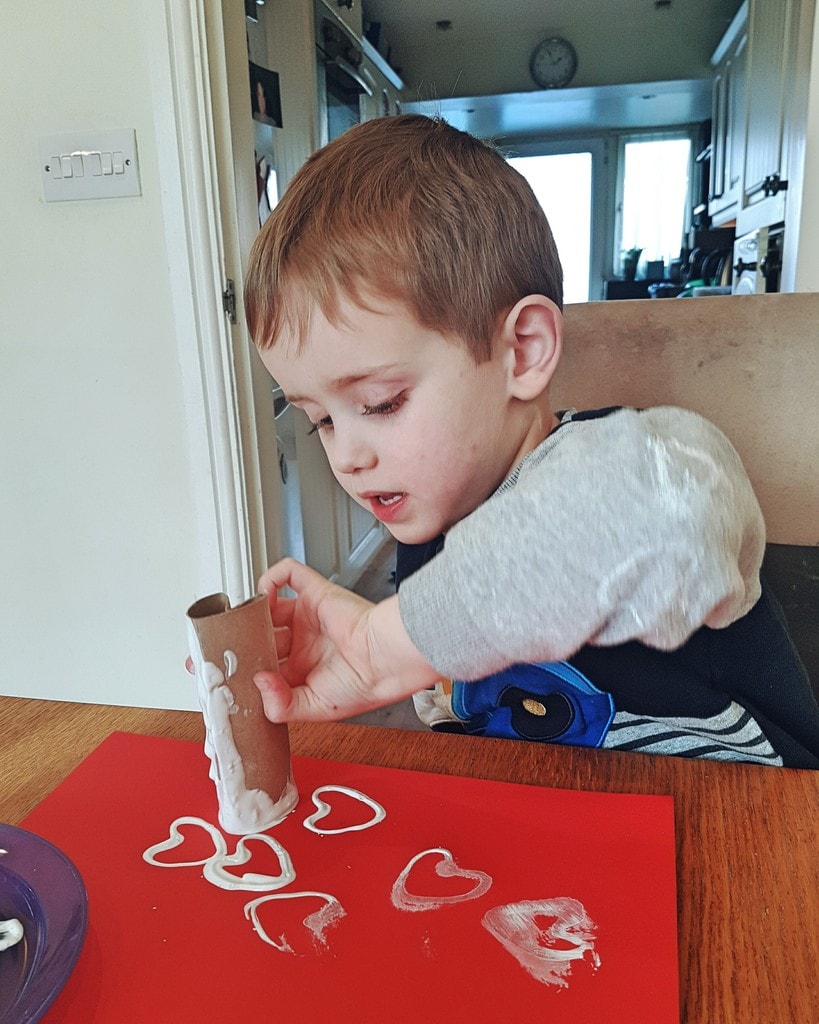
To make the box, I used some excellent crafting resources that were sent to us as part of the #BostikBlogger campaign. I also used some card that the children decorated by printing with toilet-roll hearts. You can find the method on ‘3 Easy Valentine’s Crafts for Toddlers.’
For a full tutorial on how to make this gorgeous box, check out the video below. The recipe and method for decorating the cookies can be found further down.
Valentine’s Day Heart Cookies and Presentation Box Tutorial
Heart Cookies Recipe and Decoration
Ingredients:
- ½ tsp vanilla extract
- 260g plain flour
- 115g unsalted butter
- ½ tsp almond extract
- ½ tsp salt
- 55g white sugar
- 60g brown sugar
- 1 medium egg
- ½ tsp baking powder
- ½ tsp allspice
Method:
Make sure the butter is softened before you begin. You can leave it out the day before or use short bursts in the microwave.
Add the butter and both sugars to the electric mixer. Cream the butter and sugars until they are light and fluffy.
In a glass or mug, beat the egg together with the almond and vanilla extracts. The add to the mixture and beat until fluffy. If the mixture appears to separate, add a tablespoon of flour.
In a bowl add the flour, allspice, salt and baking powder.
Add the dry ingredients to the bowl and mix until completely incorporated, making firm dough that clears the sides of the bowl.
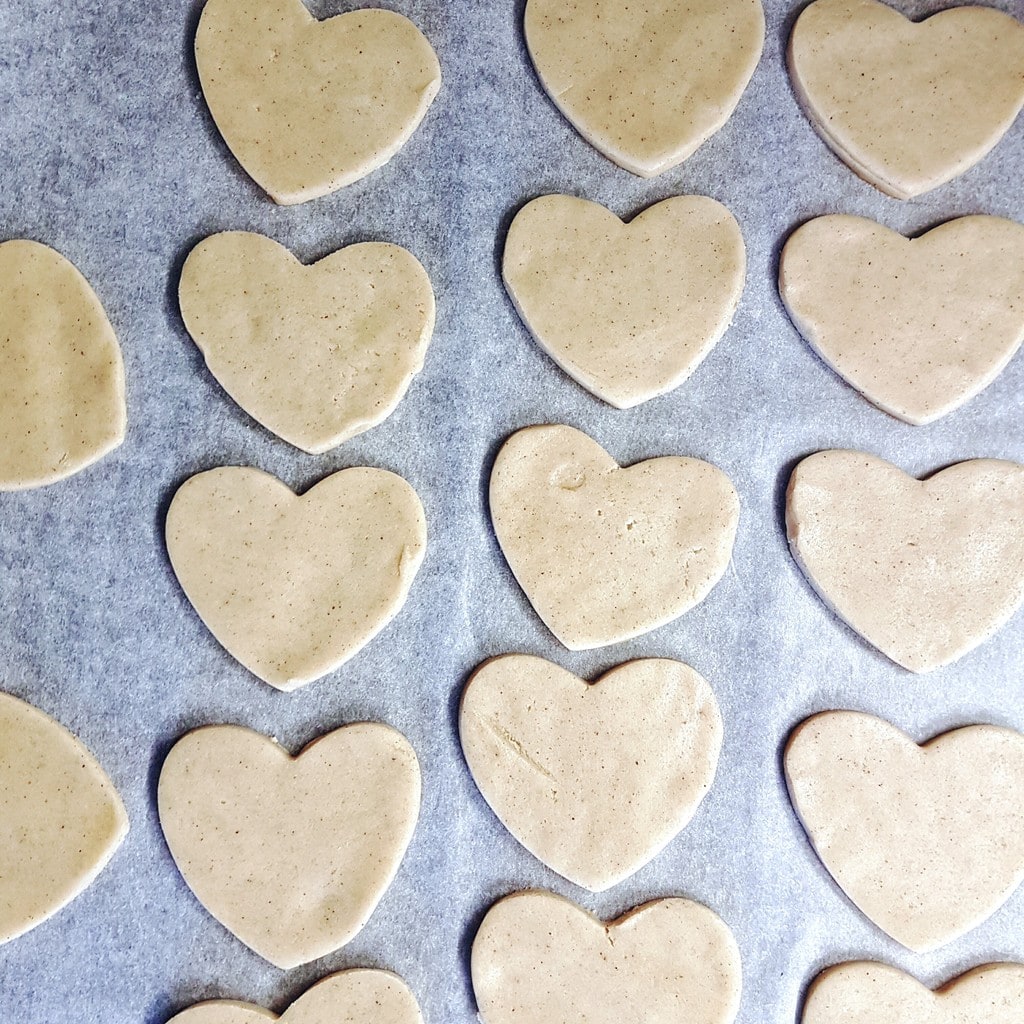
Flatten and then roll the dough between two sheets of baking paper, until half a cm thick.
Place the lot into the fridge to chill for 15 minutes. You shouldn’t be tempted to skip this as it makes the cookies much easier to cut and keep their shape.
With the dough now firm, cut out the shapes of your choice and place on a baking tray. Return to the fridge for another 10 minutes while you preheat the oven to 190 (170 Fan, Gas Mark 5)
Bake the cookies for 7-9 minutes or until they turn a deep golden colour.
Transfer the cookies to a cooling rack after about 10 minutes and wait until they are fully cool before decorating.

Icing
Ingredients
- 225g Icing sugar
- 2-4 tablespoons of hot water
- Food colouring of choice
Method
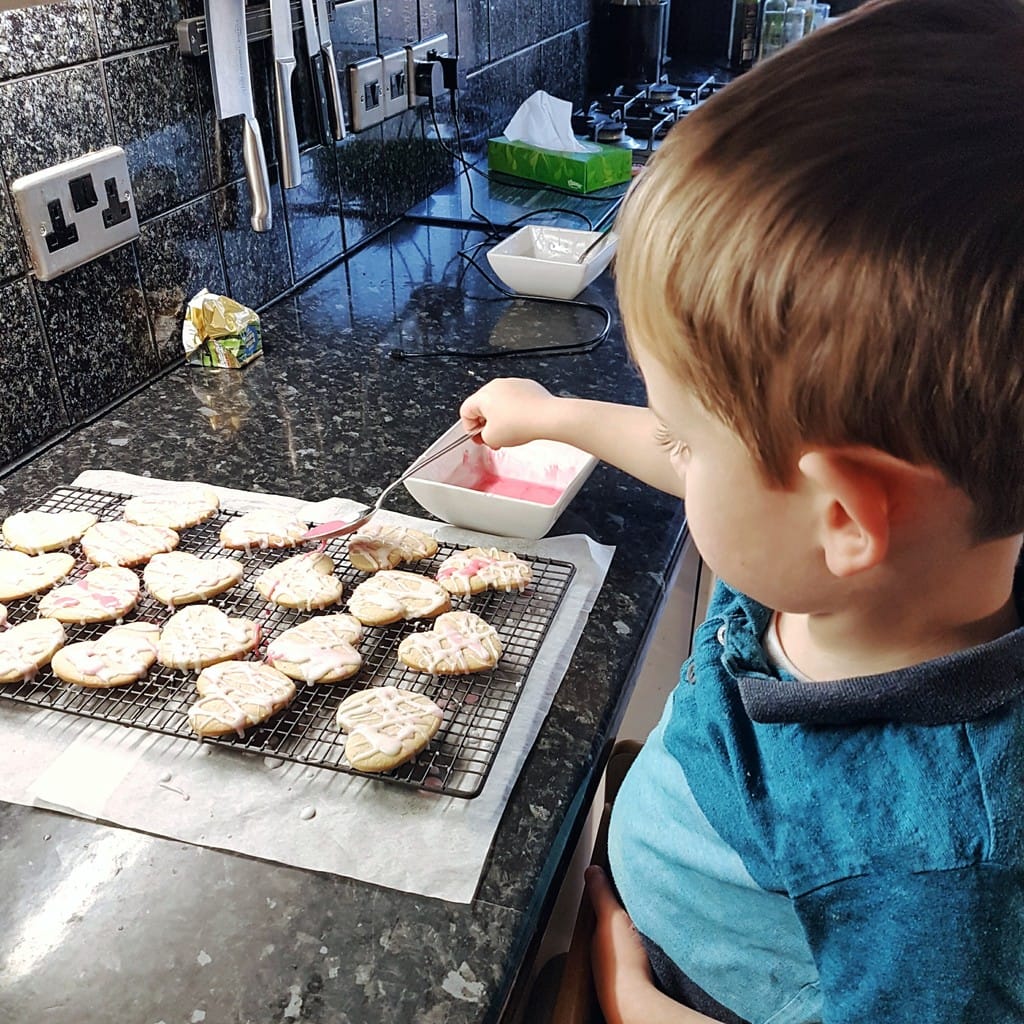
Add the icing sugar to a bowl and gradually add the hot water, one spoonful at a time. The mixture should have the consistency of thick cream and cover the back of the spoon.
If you require different colours, divide the mixture into separate bowls and add food colouring.
Dribble the different coloured icings over the cool cookies with a spoon, creating a haphazard lattice effect.
Once the cookies are iced to your satisfaction, leave them until the icing has fully set. You can then package them as shown in the video above.
Although the cookies and presentation box are Valentine’s Day themed, you could used different colours and cookie shapes to make beautiful hand-made gifts for any occasion.
*This is a collaborative post and part of the Bostik Bloggers campaign*
Those cookies look yummy and what a lovely idea to make the box to present them in. A perfect combination x