
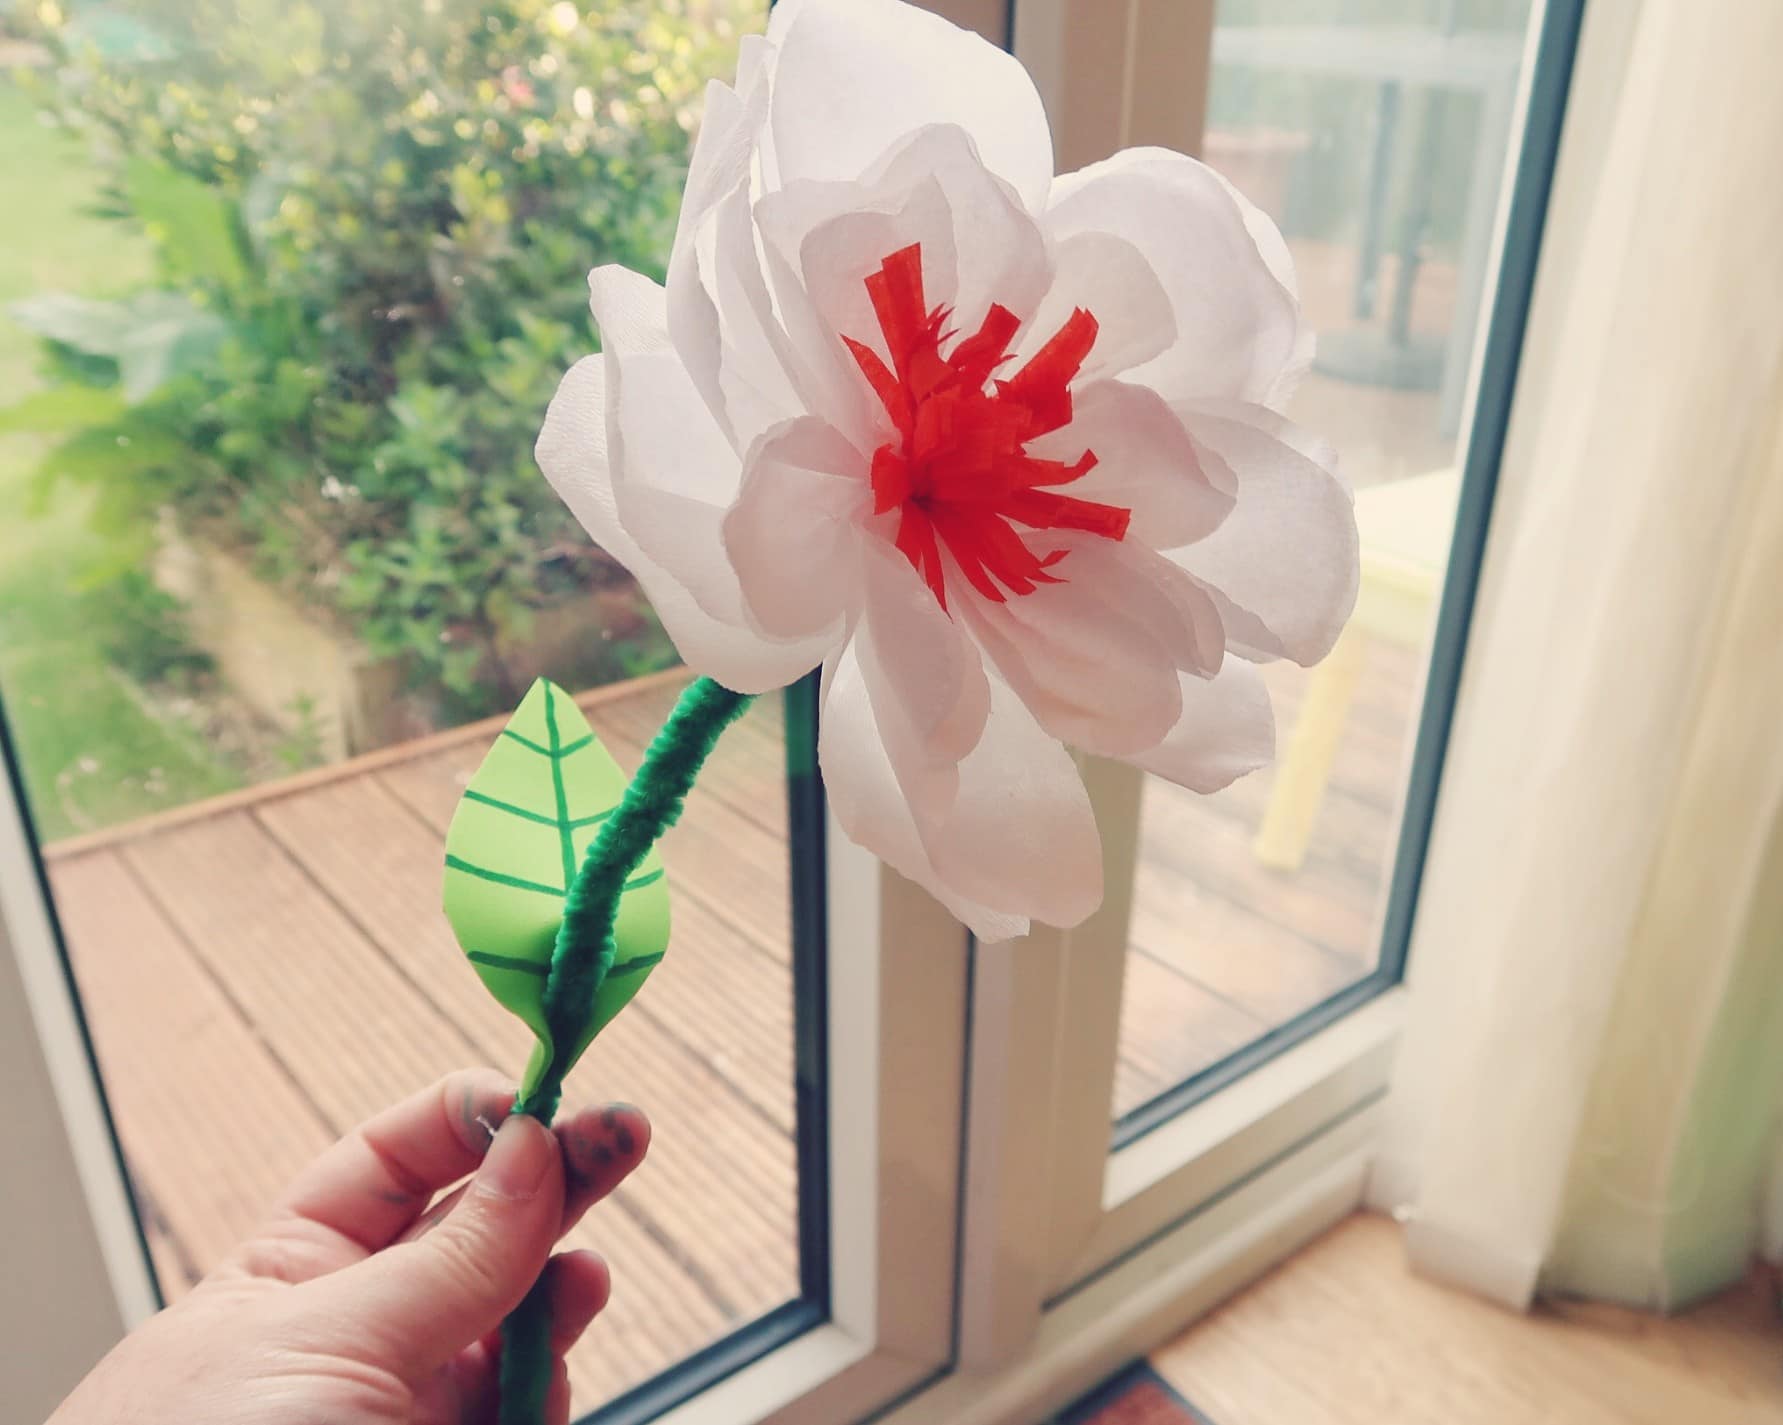
Littlest loves flowers. Whenever we have any in the house she is always asking to be lifted up to touch them. It can be a little dangerous though, as fresh flowers are usually in glass vases full of water. In addition, it is not always practical or sensible to let a two year-old play with an expensive bouquet. So, as this month’s Bostik Blogger theme is flowers, I decided to create some paper flowers for Littlest to admire and use for imaginary play. These paper flowers would work perfectly in a play house or as part of a dressing-up costume or imaginary play. Littlest absolutely loves them and has been carrying them around with her since I made them!
Paper Flowers Craft Tutorial
I adapted this method for paper flowers from this fabulous Giant Paper Flower for a DIY Wedding Backdrop Tutorial from Smile Mercentile Craft Company. I did have to change a few key things, as the flowers I made were much smaller, but the basic principle is the same.
Equipment:
- Crepe Paper in chosen colours
- Light card
- Green pipe-cleaners
- Scissors
- Glue (a glue gun works best)
- Green foam sheets
Method for Paper Flowers:
Using plain card, cut out two sizes of petal template and one circle, around the size of a 2 pence piece. You will need strips of crepe paper that are at least twice the height of the biggest petal. This is because you will be folding the paper in half and then cutting around the template. Make sure the grain on the crepe paper is vertical when you cut out your petals:

1.Cut out a petal shape with the fold at the bottom. You should then have shapes which look like an hour-glass when unfolded and there should be 8 of each size, 16 in total for each flower.
2. Then, fold the petal at the base, into a concertina-style shape and pinch to crease it. Release the petal and then glue the base and re-gather so that it is gathered into a point.
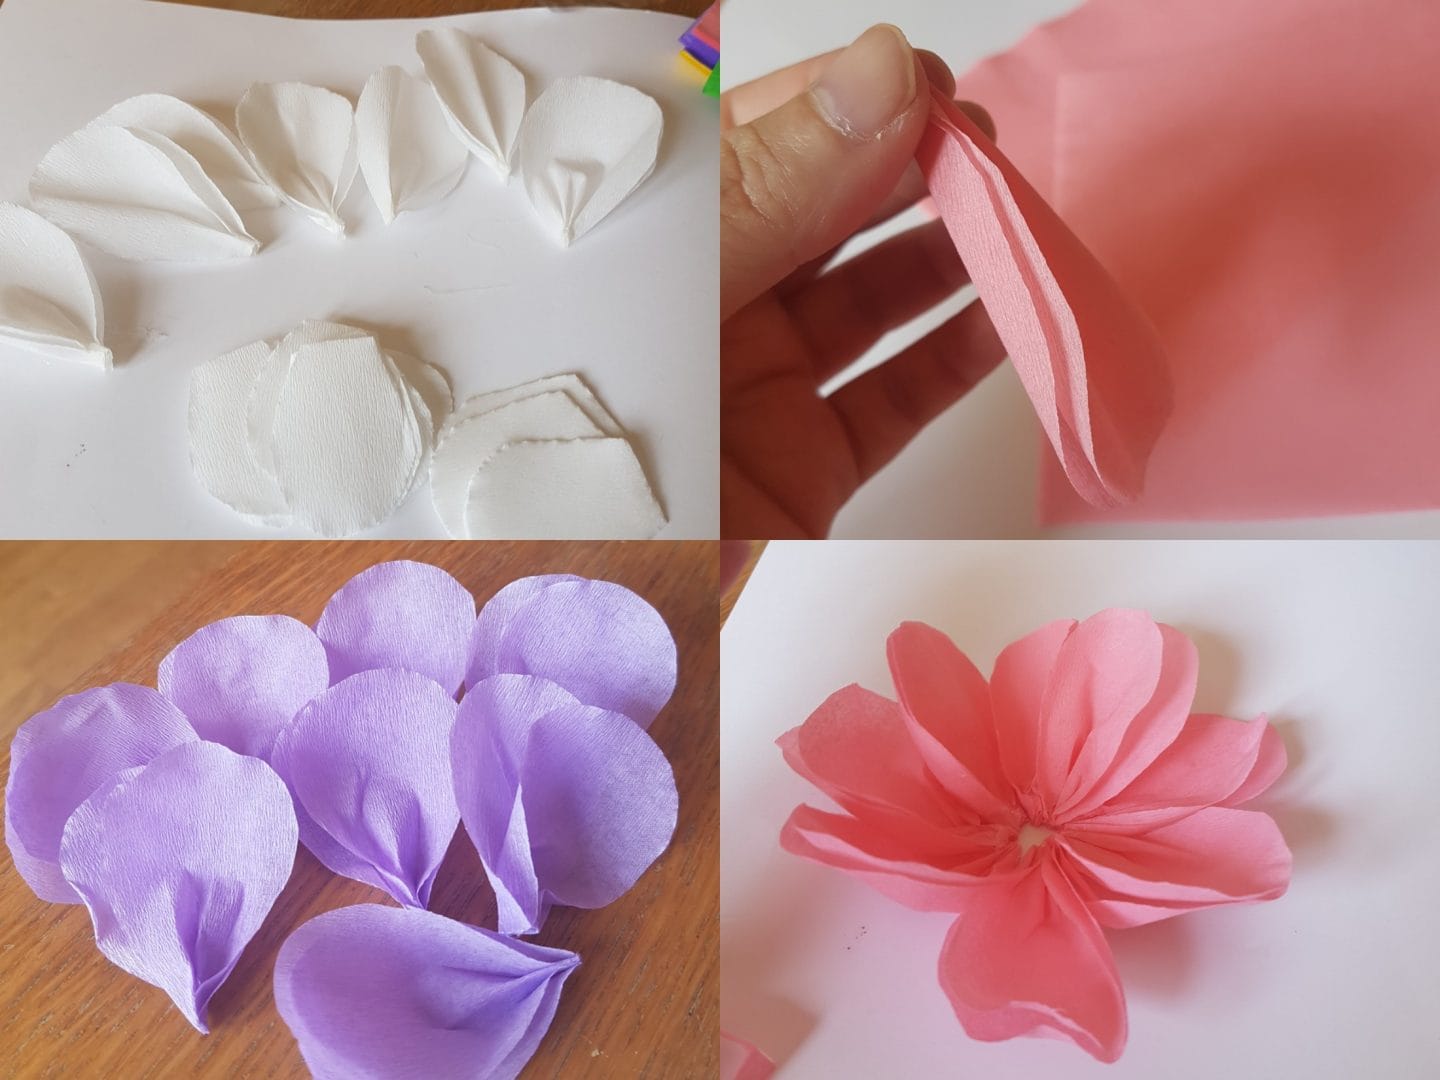
3.Next, stretch the middle of each petal, so that the crepe paper forms a more natural petal shape and then glue them to your card circle, leaving a small hole in the middle. Add each new petal so that it overlaps the last one slightly.
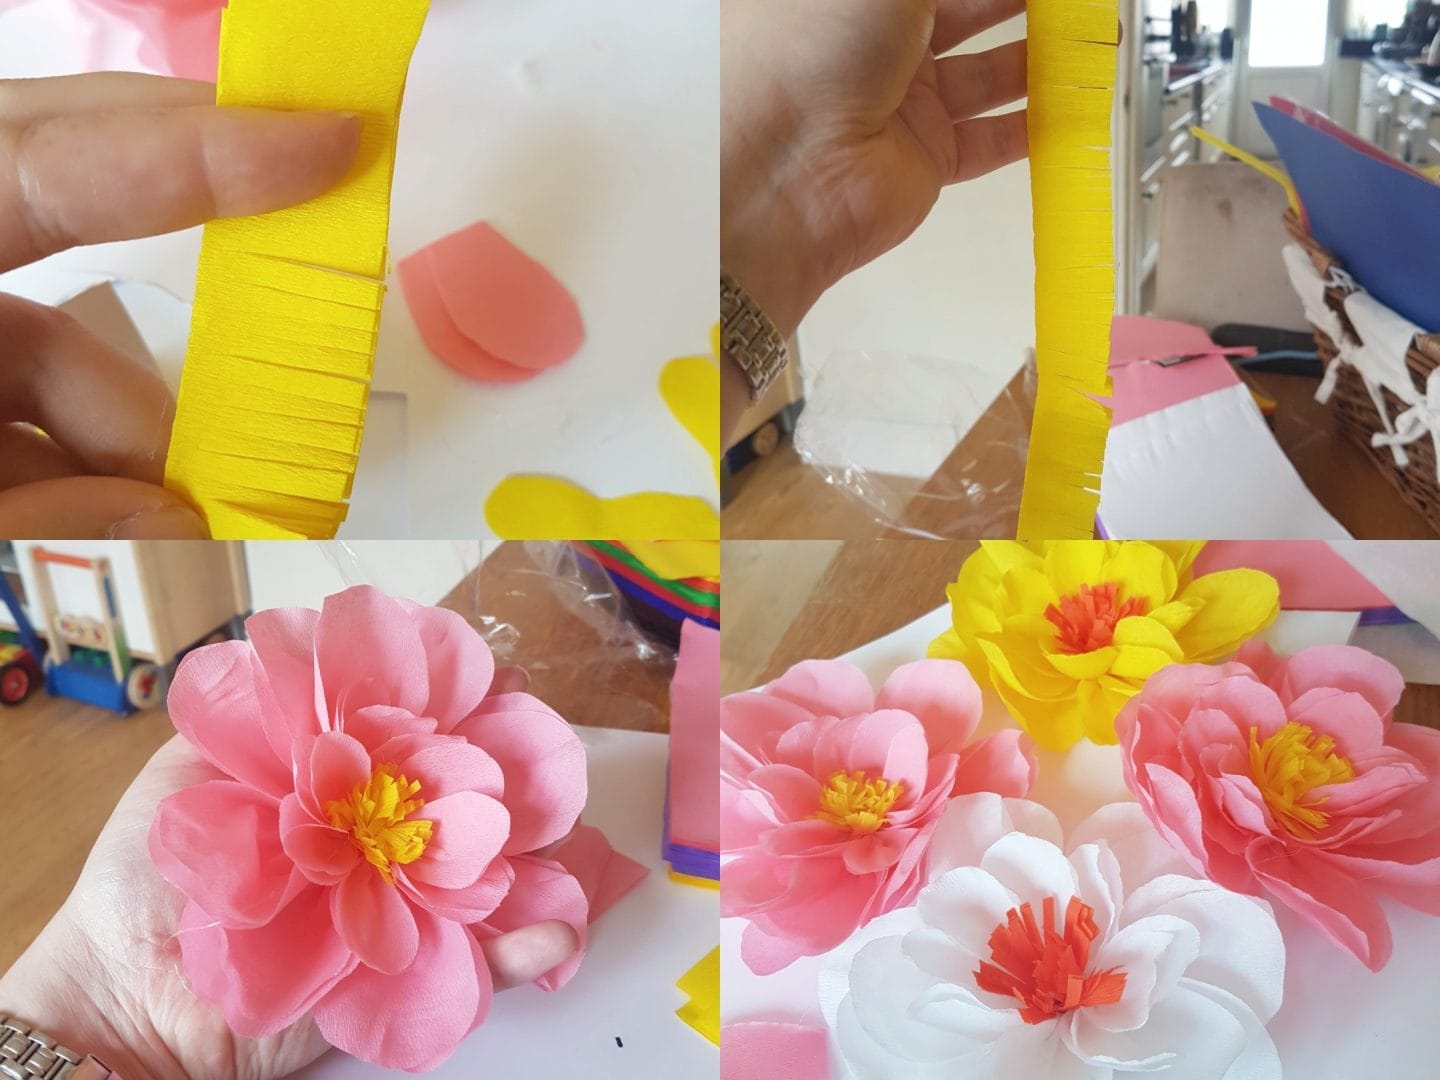
4. Now take the slightly smaller petal size and fold the ends of the petals upwards before sticking them in a smaller circle, around the hole left by the larger petals. You should then have an outer ring of larger petals and an inner ring of smaller petals.
5. The final step in making the flower head is to cut a rectangle of crepe paper for the centre of the paper flowers. You should choose a different colour, one that compliments the petals. Fold the crepe and cut it so that in forms a fringe. Then, roll the crepe paper up so that it creates a central pom pom for the centre of each flower. You can then glue it into place in the centre of the card, in the middle of the two sets of petals.
Method for stalks and leaves:
1. Next, I made the stalks for each flower. I took 3 pipe-cleaners and plaited them, leaving the last 2 cm of each. This creates three ‘spokes’ that you can use to attach the flower heads. Again, a glue gun works best here but you could use any type of glue.
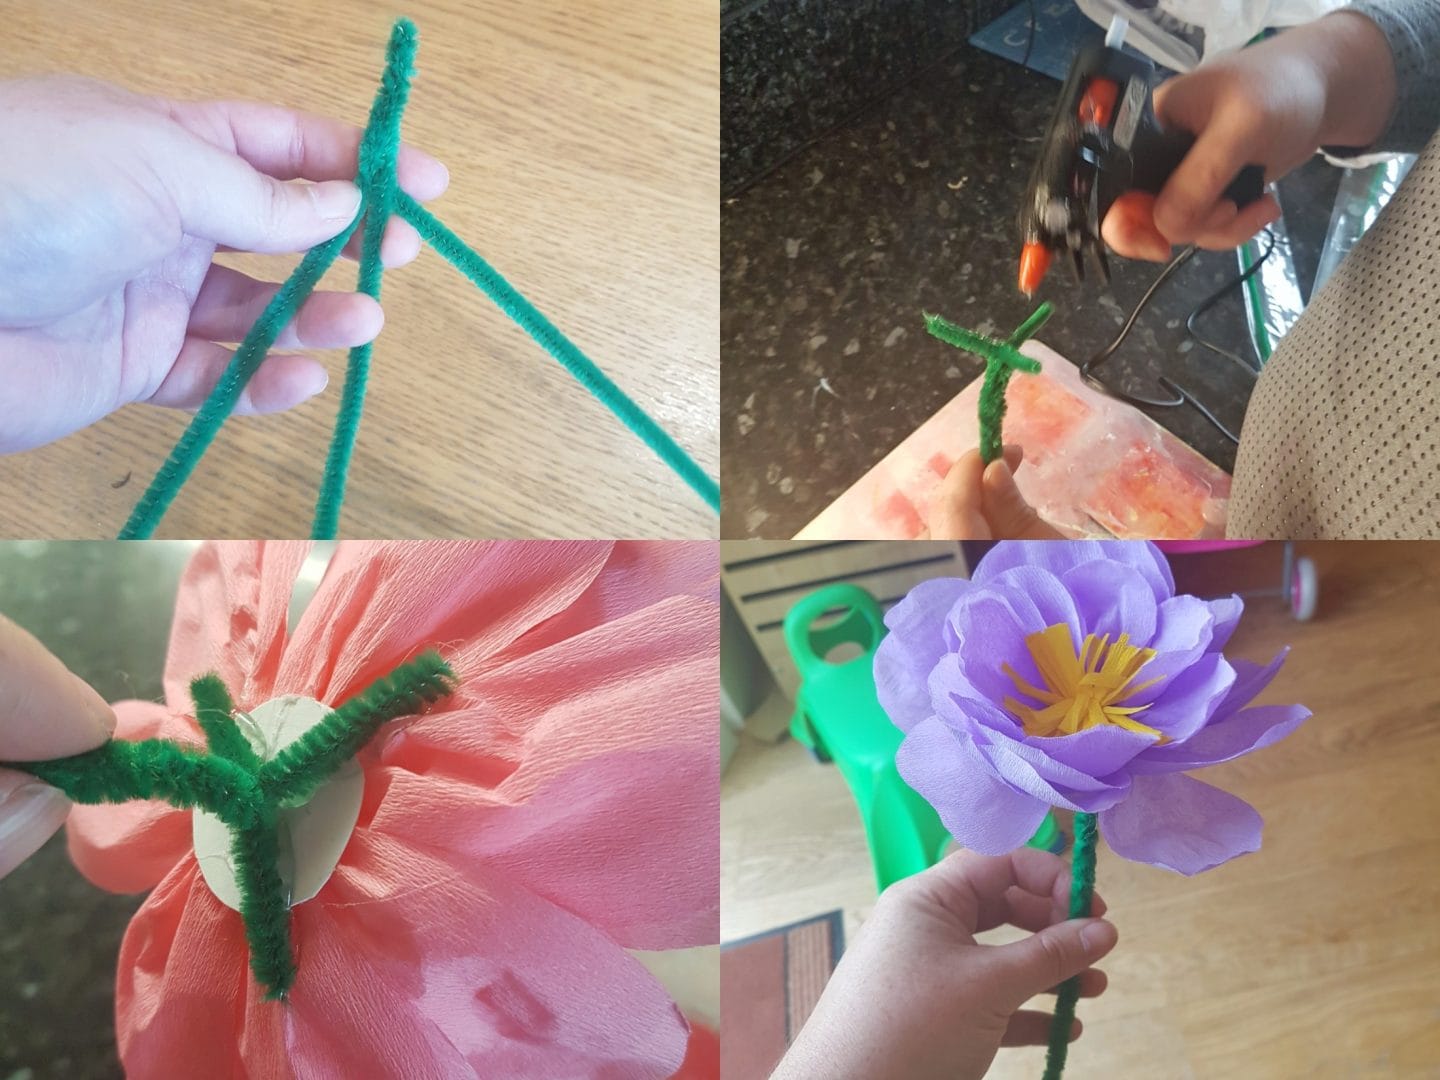
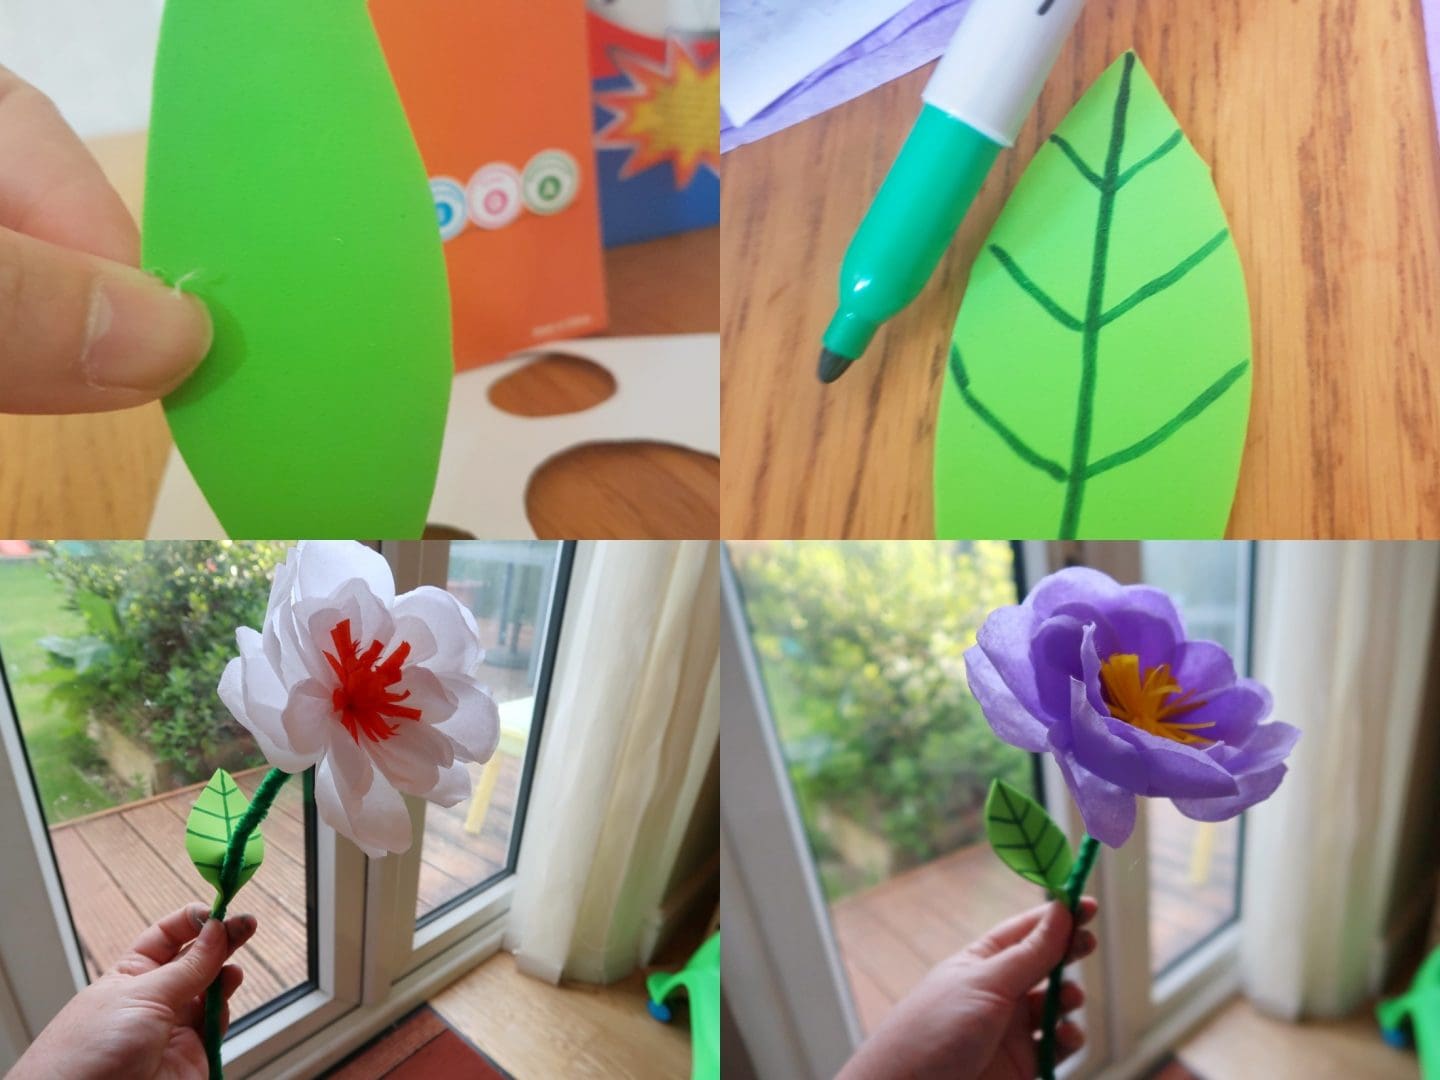
2. Secondly, I added some foam leaves to some of my flowers but this is optional. If you are using the flowers for young children it may be sensible to tape the bottom end of each stalk, as sometimes the pipe-cleaners have slightly sharp edges.
3.You could put the flowers in a paper or plastic cup as a vase, or you could secure them as a bouquet you can hold. To do this, simply secure by wrapping a pipe cleaner around the top and bottom of the stalks, creating a bunch of stalks that is easy to hold.
And there you have it – a beautiful bunch of flowers that don’t need water and that will never wilt. I used four different colours and made two of each, creating a bunch of eight for my bouquet.

For more crafts, please check out our Crafts Section.
Or you could try out this gorgeous Floral Wreath from Hi Baby Blog.


Wow these are beautiful. Going to give these a go with my little two. Thanks lovely x
These look amazing. I’m always looking for new crafty ideas for the kids, thanks for this x