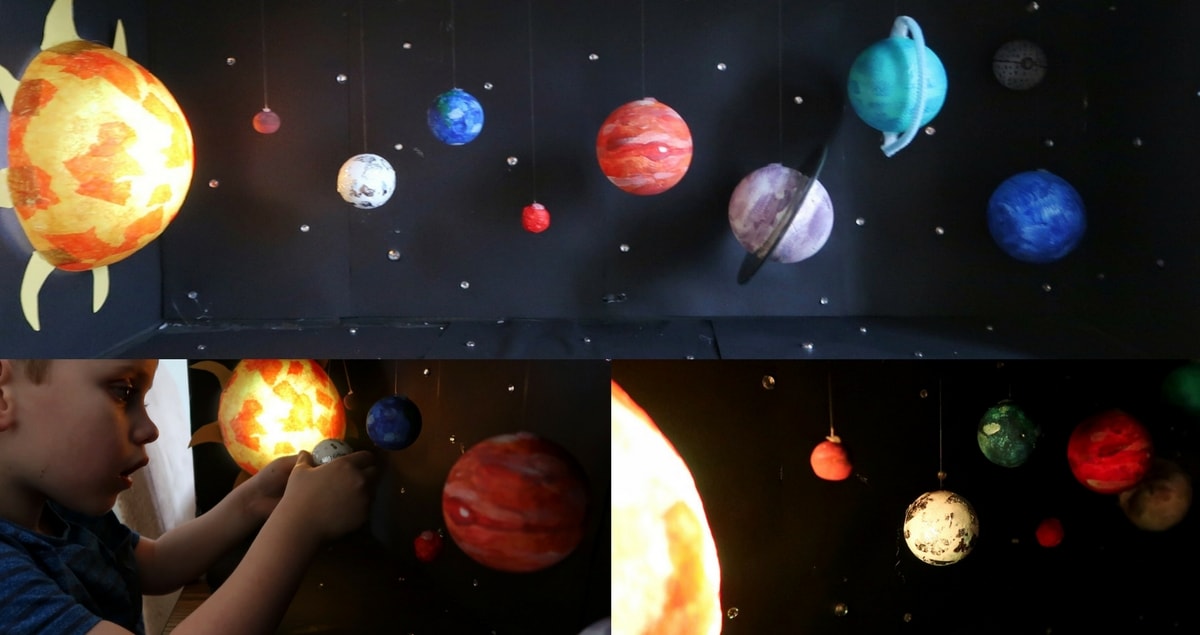
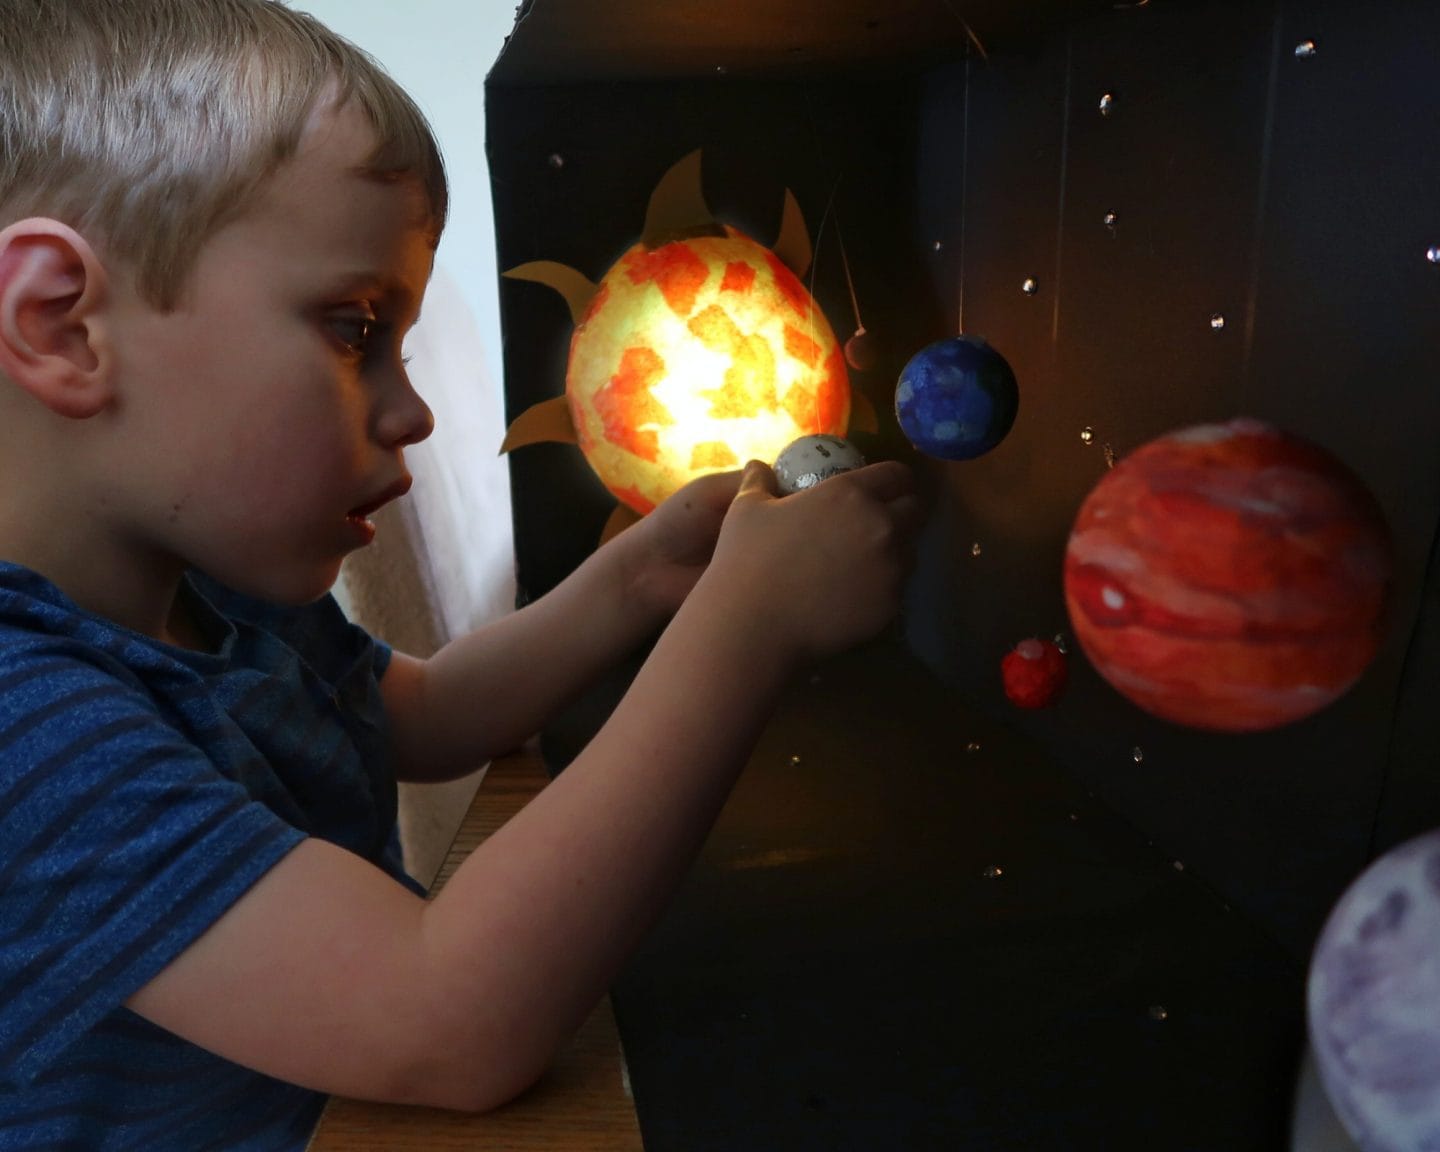
When the #BostikBlogger theme for the month is space, and you have a very exacting little boy who is passionate about all things space-related, you know you have to go all out. This month I have been making a model of the solar system, complete with shining sun, and it has been a labour of love. Ever since he was small, Biggest has been fascinated by the planets. He knows all about each one and can tell you about the moons of Jupiter. He can tell you that Saturn’s rings are made of dust, rock and ice. I knew a model solar system would capture his imagination and, as Biggest loves sensory lighting, I sought to add a special touch by making our sun glow.
Light-up Model Solar System
Materials:
- Large cardboard box – ideally long and thin
- Yellow, orange and red tissue paper
- Various sized polystyrene balls
- Paints and brushes
- Nylon thread
- Plastic gems
- Black card
- Yellow card
- Red card
- PVA glue
- Water
- Hot glue and glue gun
- Remote controlled LED Light (6.99 on Amazon)*
- Tinfoil/Craft foil
- Scissors
- Craft knife
- Pipe-cleaners
- 2 old CDs/DVDs
- A balloon/ball for papier mache mould
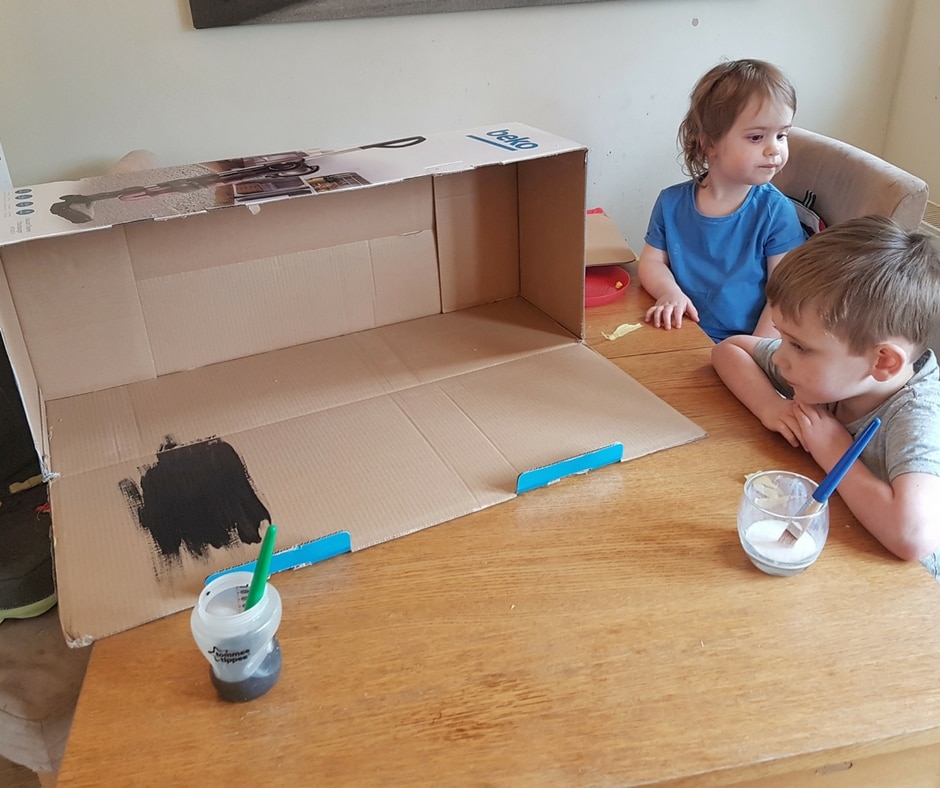
Method:
The first step is to prepare the papier-mâché sun, as that will take 48 hours or more to set. Using a solution of half PVA glue and half water, I built up the tissue paper and glue layers until I had covered over half of the sphere shape. I did my sun in two sessions, adding 3-4 layers of tissue and then leaving to set. I then added another 3-4 layers and left to dry again. A mixture of mostly yellow tissue, with a few strips of orange or red, created an effective look.
While the papier-mâché was drying, I prepared a large cardboard box by removing one side or any excess cardboard and painting black and gluing on black card. I painted the exposed edges and then used card for the main background.

Once the cardboard box was dry, I used the hot glue to secure the LED lamp to one end. Once the sun had set, I burst the ball (you could used a balloon) and trimmed the edges of the sun in order to create half of a hollow sphere.
Then, I secured the sun over the lamp. I used flame shaped cardboard tabs, as above. This meant I could fix the sun so that it can still be lifted up to gain access to the LED lamp.
Next, I decorated the inside of the black box to resemble space. I used small clear gems and stuck them all over to create the appearance of stars.

Model Solar System -The Planets
Mercury
I used air dry clay to make Mercury but I found it to be quite heavy when dry. Mars was too heavy for the glue and nylon string (the string kept snapping) and so I had to re-evaluate using air dry clay for the larger planets. For Mercury, the smallest planet, I simply formed a small ball of air-dry clay and painted it when it had dried.
Venus
I used a small polystyrene ball and painted it grey and white. I then used craft foil to imitate Venus’s dense and reflective atmosphere.
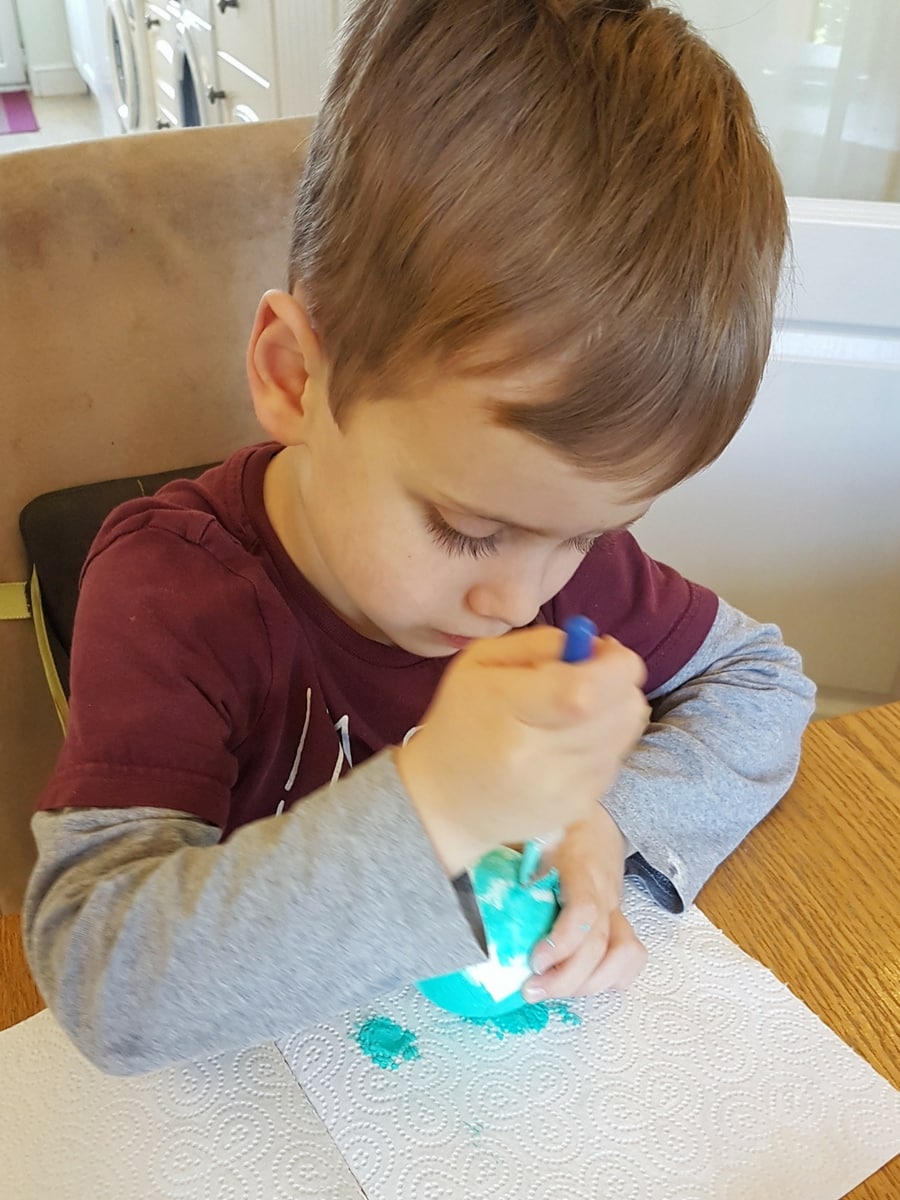
Earth
I used the same size polystyrene ball as Venus and painted it to look like Earth.
Mars
As the clay was too heavy to make Mars (it kept breaking), I used a tinfoil ball, red tissue paper and PVA glue to create Mars.
Jupiter
I used a larger size ball and painted in shades of orange, yellow and red. Don’t forget the big red spot!
Saturn
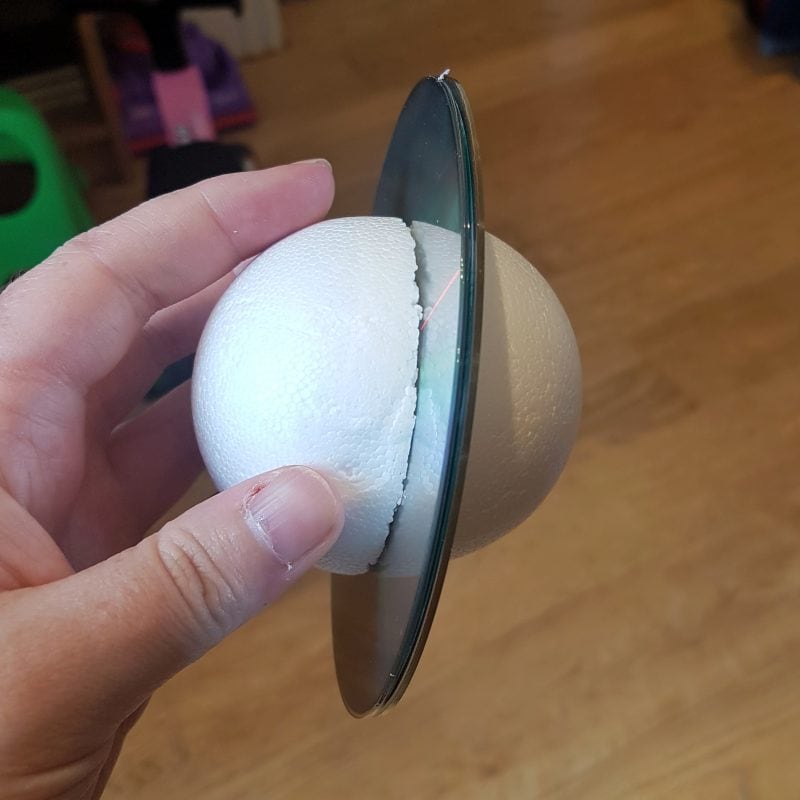
Saturn was slightly more complicated. I used a large polystyrene ball and cut it in half. Next, I glued two old CDs together so that the reflective part showed on each side. Each side of the polystyrene ball was then glued to either side, creating the shape of the planet. Finally, I painted and left to dry, just like the other planets.
Uranus
Uranus’s ring is much smaller than Saturn’s and so I used a pipe-cleaner and attached it to each side of the planet with two small sections of clear drinking straw. Biggest helped out with the painting of the larger planets.
Neptune
Again, I used a larger ball and simply painted it in Neptune’s colours.

Death Star
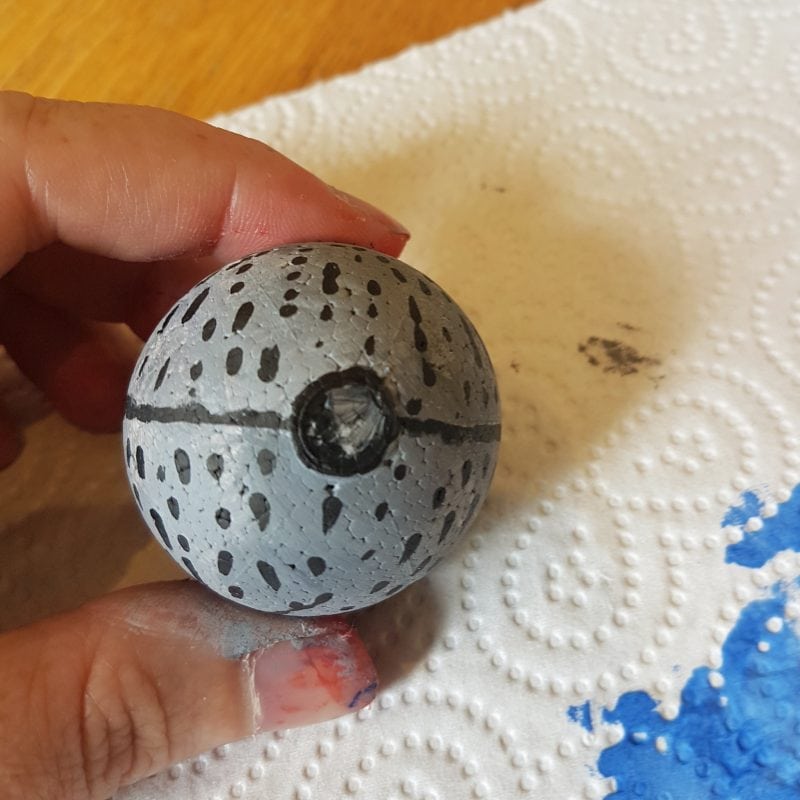
You may have spotted the cheeky Death Star – all together now, “That’s no moon!” I made it in the same way as the painted planets and simply glued to the corner of the box, rather than hanging it from nylon thread.
Once the planets were complete and fully dried, I attached them to lengths of nylon thread using the hot glue gun. Then, I punched holes in the top of the box and taped the thread in order to hang each planet from the top of the box. I measured out the spaces for each hole carefully beforehand, to ensure all the planets had room and were spaced correctly. Saturn was much heavier than the other planets and so I glued and taped the thread in place.
Finally, I covered the outside of the cardboard box in red card, and our model solar system was complete.

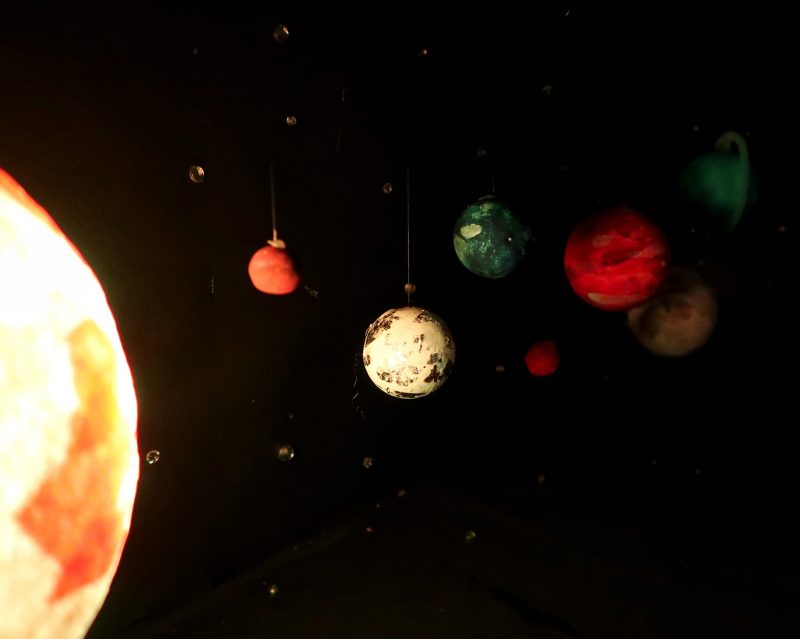
I am thrilled with the results – not least of all because Biggest is absolutely mesmerised by his model solar system. It has made a great talking point for learning about space, both with Biggest and his sister. It also looks great in his room and it great fun to switch on in darkness.
Please note, as a #BostikBlogger, Bostik kindly send us craft items each month in order to created themed crafts
*Link to LED light is an affiliate link.
For more crafts, check out:
Paper Flowers Craft for Imaginary Play


Wow that is amazing. What a fabulous model solar system.
That is fantastic! It worked out beautifully! 🙂
So inventive, and a really successful project. Blue Peter badge worthy I think.
Thank you 🙂
I love that you included the Death Star!
How did u do the sun exactly do u mix the tissue paper in with the glue to create a paper miche paste or did u just paint the glue on the tissue paper
You use the tissue exactly like paper mache. So paint some glue on the ball or balloon or whatever you are using as a mold, then tiny strips of tissue, then add more glue on top and more tissue. Carry on with tissue and glue so that the tissue is always coated in glue, until you have enough layers 🙂
Beautiful project I am trying to mimic the sun for my son’s project so did u create a paste with the tissue paper or just paint the glue and water mixture onto the paper
What is black card, yellow card, red card? Does that mean cardstock?
Like cardboard… We just call it card in the UK! Like firmer than paper?
Perfect, thank you! Also, your link to the LED that you used, did not work. Maybe because I am in the US? Thankfully since you posted a picture of the light I was able to find some available options on Amazon 😁